Create your own handwritten font with Microsoft Font Maker

Intro
How awesome would it be to have you own handwritten font for use in Windows. I the past I already did see people do it, but now you can do it very easy with Microsoft Font maker that you can download from the store.
Step by Step
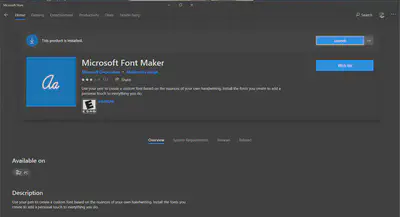
When you have downloaded and installed Microsoft Font Maker from the store you will get understanding screen.
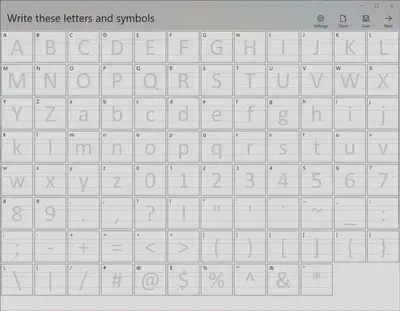
When you have a device with a touch screen like my Surface Book you can start writing the creating your font with your handwriting. I used my Surface Pen what makes it even more easy, it’s like real writing but then digital on your touch screen.
After you written in all the boxes your own writing, i will look like understanding screen.

Now you can click on next and you will be asked to write three sentences that will be used see how you do spacing between letters in words and between words.
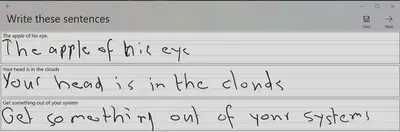
After you have written the three sentences you can click next again of choose to save your work as a project so you can change something later.
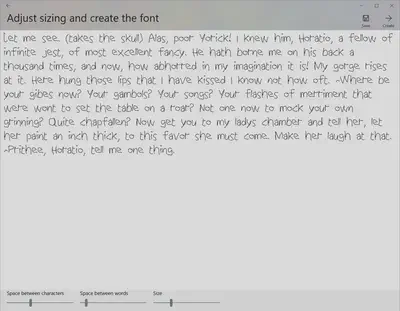
The following picture shows the result of you work that you have done. Here you can also change the space between characters and between words en the overall size of your


As last you can create the font and save somewhere. When you open the explorer and double click on the saved file it will open the following.
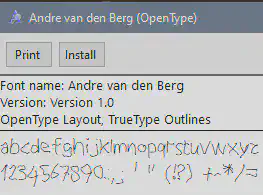
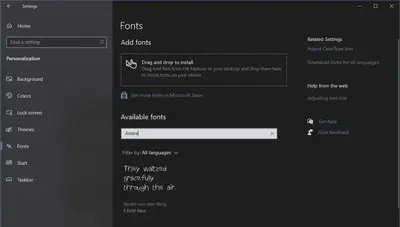
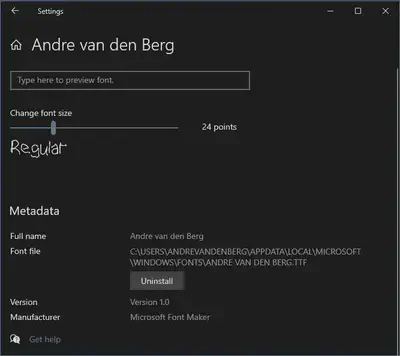
Where you can click on Install and your font is now available in your programs. When you go to settings -> Personalization -> Font you will see that you font is now shown here.
The Manufacturer field shows Microsoft Font Maker and version 1.0 and the name is in my case Andre van den Berg how i save the file.
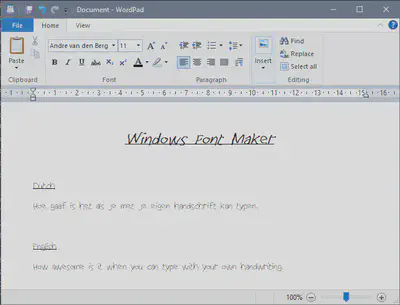
When you open now for example wordpad you can select you own created font and write text with it.
Conclusion
This is really awesome app to make your onw font with you own handwriting.